
How to Test a Hidden Microphone Setup Before You Rely on the Recording
A hidden microphone is not proven useful because it switches on, shows a flashing status light, or creates an audio file. It is useful only when a lawful, authorised recording can be replayed and the important speech is understandable in context. That distinction matters in homes, vehicles, workplaces, interviews, safeguarding situations and asset-protection workflows: a recording full of road rumble, HVAC noise, clipped voices, handling sounds or missing timestamps may be technically present but operationally weak.
This guide explains how to validate an audio-recording setup before it is needed. It is intended for lawful uses only: recording your own property, your own conversations where permitted, or situations in which all required notice and consent have been obtained. Audio-recording laws differ substantially by country, state and workplace context. Before recording another person, establish the legal basis, applicable consent requirements, privacy notice obligations and any rules governing employment, shared accommodation or public-facing spaces. Do not use a microphone to intercept conversations in places where people reasonably expect privacy or where you are not authorised to record.
The central principle is simple: test the complete chain, not just the device. That means the room or vehicle, the microphone, its mounting, the recording mode, the power source, the memory, the clock, the retrieval method and the person who will review the files. Start with the available spy microphone range as a way to compare recording technologies, then validate the actual device in the exact environment where it will be used.
What “good audio” means in a real recording
Audio quality is often described with vague terms such as clear, powerful or long range. These labels are not a test result. A practical recording should allow an authorised reviewer to answer five questions without guesswork: Who is speaking? What are they saying? When did it happen? Where is the speaker relative to the recording scene? What background event gives the conversation its context?
For speech, intelligibility matters more than loudness. A very loud recording can still be poor if low-frequency vibration masks consonants, automatic gain pumping makes voices fluctuate, or reflections smear words together. Conversely, a modestly loud recording can be highly usable when the microphone has a favourable path to the speaker and the background noise is controlled.
When assessing a setup, separate the following qualities:
- Speech intelligibility: whether ordinary words, names, numbers and short phrases can be understood on first listen.
- Signal-to-noise ratio: how far the voice sits above constant or intermittent background noise.
- Continuity: whether the event is captured from beginning to end without shutdowns, activation delays or corrupted segments.
- Context: whether the listener can distinguish a meaningful conversation from television audio, a speakerphone, nearby voices or radio playback.
- Retrievability: whether files have sensible timestamps, can be copied safely and play consistently on a standard device.
A useful benchmark is not “Can I hear something?” but “Can an independent listener accurately transcribe a short, unannounced test sentence at normal volume?” This protects buyers from a common mistake: evaluating a recorder with a person standing close by, speaking loudly and facing directly toward it, then assuming the result applies to ordinary use.
Begin with a lawful recording objective
Testing becomes more efficient when the intended outcome is defined before any device is placed. Write a short recording brief. It should identify the authorised area, the expected speaker positions, the likely noise sources, the expected duration, the required response time and the person responsible for reviewing material. If the answer is merely “record everything just in case,” reassess the necessity and proportionality of the recording plan.
Define the speech that must be understood
A kitchen conversation, a meeting-room discussion and a vehicle conversation pose different acoustic problems. In a kitchen, appliances and hard surfaces create bursts of noise and reflection. In a meeting room, distant talkers and laptop fans matter. In a vehicle, engine load, tyre noise, ventilation and road surface can dominate the file. A setup that works in one environment should not be assumed to work in another.
Specify the typical rather than ideal case. For example: “Two seated adults speak normally at a table, one 1.2 metres from the recorder and one 2 metres away, while a refrigerator cycles on.” That statement immediately reveals what needs testing. Readers planning a vehicle-specific authorised recording workflow should also consult the dedicated guidance on recording clear audio inside a car despite road noise, because stationary tests rarely predict driving performance.
A reliable recording setup is measured by intelligible, complete and retrievable audio, not by a status light or the mere existence of a file. Define a lawful, specific recording objective and test the complete system in the real environment before relying on it.
Decide whether you need local files or prompt access
Local recording is often simpler to validate: create a file, retrieve it, listen, document the result. Network-connected or live-listening systems add mobile coverage, account access, latency, Wi-Fi stability, data usage and remote power management to the test plan. Neither approach is universally better. The correct choice depends on access to the device, how quickly an authorised user must know about an event and how much maintenance is acceptable.
Before choosing a platform, compare the practical trade-offs in this guide to local recording, GSM, Wi-Fi and live listening. Then test the chosen method under normal conditions, not only beside the router or with a fully charged battery on a desk.
Build a repeatable audio acceptance test
An acceptance test is a short, repeatable procedure that confirms the setup meets a defined standard. It avoids reliance on memory and makes it much easier to diagnose a later failure. Run the same sequence after initial installation, after firmware or app changes, after moving furniture, after changing recording settings and periodically during longer deployments.
Prepare a realistic test script
Use two consenting participants where possible. One reads a script at normal conversational volume; the other speaks from a second expected position. Include words that are easy to confuse, such as names, numbers, addresses, product codes and dates. Add a short unscripted exchange, because natural speech has interruptions, lower volume and overlapping phrases that a neat read-out does not reproduce.
A suitable script might include a date, a five-digit number, two names, a short instruction and a question. Do not announce the words in an exaggerated voice. Testers should sit, stand and turn as they would during normal activity. Record where each person stood and what other sound sources were active.
Test the room in layers
Make separate recordings for a quiet baseline, ordinary speech, speech with common background noise and speech at the furthest expected position. The quiet baseline is especially valuable. It reveals electrical hum, digital interference, periodic clicks, refrigerator cycling, ventilation noise, plumbing sounds and vibration that may be hidden when people are speaking.
Next, add one realistic noise source at a time. Turn on the extractor fan, air conditioning, television at a typical level or office equipment as appropriate. In a vehicle, include idle, urban driving and faster-road conditions if lawful and safe. Layered testing identifies the specific source that causes the problem. If every noise source is activated at once, you only learn that the result is poor.
Use a simple scoring sheet
After each recording, ask a listener who did not participate in the test to score it. Give one point each for correctly identifying the date, number, names, instruction and question. Then add notes for voice balance, noise type, clipping, abrupt starts and timing errors. A score of five out of five is a strong result. A lower score does not always mean the device is unsuitable, but it identifies whether placement, settings or the recording objective must change.
Keep the sheet factual. Write “speaker B’s final words were masked when the extractor fan activated,” not “audio was bad.” Specific notes support meaningful changes and establish a defensible maintenance record for authorised monitoring.
Placement: validate the acoustic path, not concealment alone
In authorised installations, the best location is the one that gives the required speech a clean acoustic path while remaining appropriate for the setting and compliant with applicable privacy rules. A device can be visually unobtrusive but acoustically ineffective. Heavy fabric, drawers, sealed cupboards, dense furniture, metal housings and contact with vibrating surfaces can all reduce clarity or introduce noise.
Placement should be judged by geometry. Sound weakens with distance, but the path also matters. A microphone near the main speaker location usually produces a better file than a supposedly powerful model placed across a reverberant room. Walls, partitions and closed doors do not simply reduce volume; they alter frequency balance, making words less distinct.
For a foundation in this subject, read the explanation of what really determines clear microphone recording range. It is particularly useful when advertised distance claims conflict with the realities of a furnished room.
Avoid vibration and structure-borne noise
One frequent cause of unusable recordings is mechanical coupling. A recorder resting on a desk can capture keyboard impacts. A unit touching a vehicle panel can transmit engine vibration. A device against a refrigerator, fan housing or speaker cabinet may record more structure-borne energy than speech.
A repeatable acceptance test turns broad expectations into evidence that a chosen recording method and placement can meet the intended need. Test normal speech, realistic noise and actual operating conditions, then use clear notes to isolate what should change.
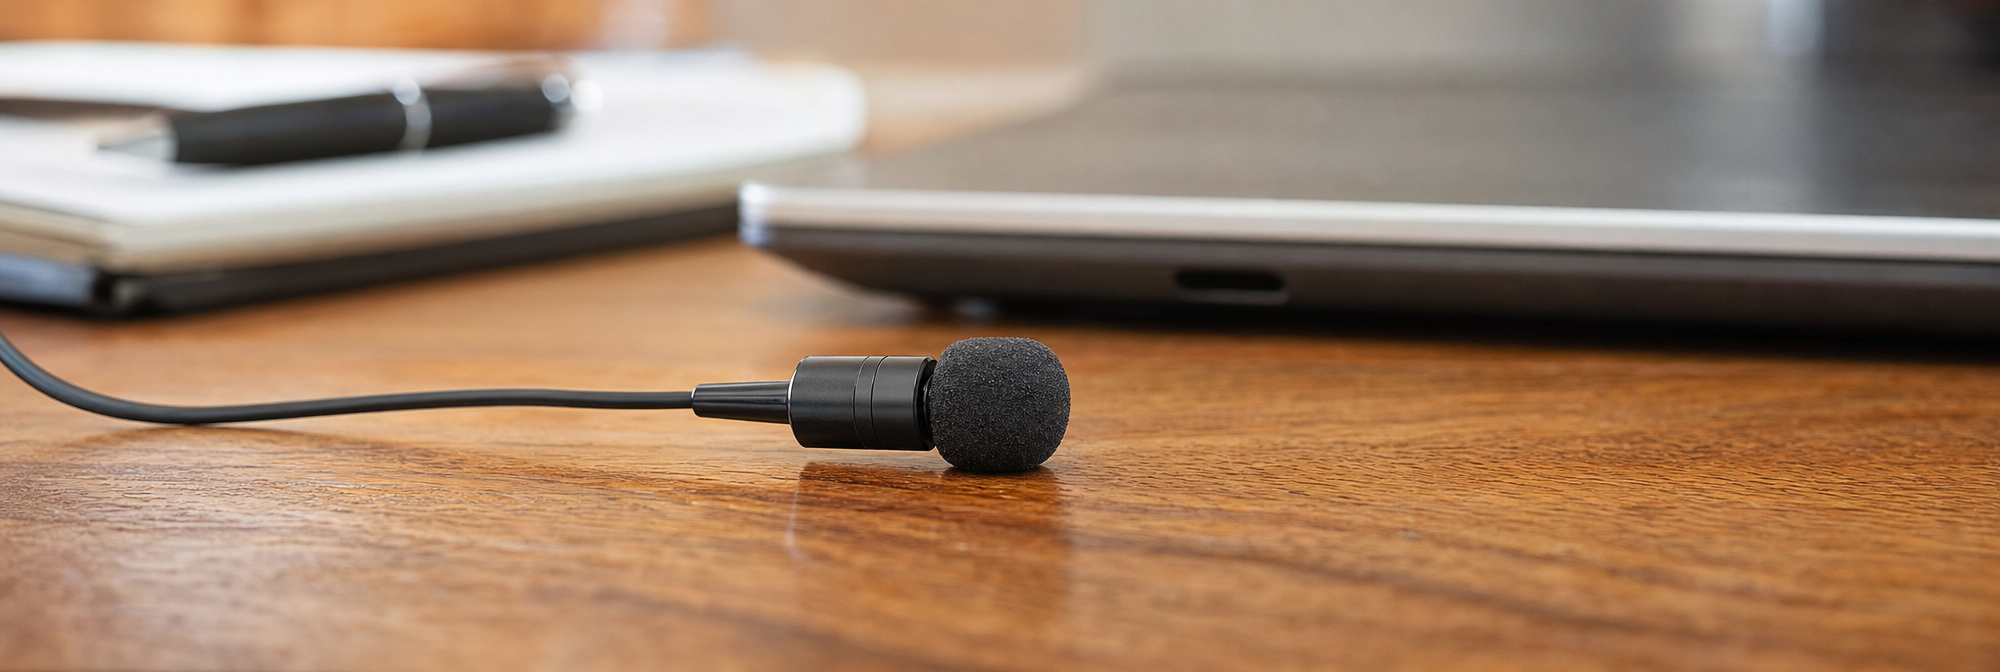
Test a location first with the device supported in its intended position, then test it with a thin non-resonant isolating layer if appropriate for the device and safe installation. Compare the low-frequency rumble and handling noise. Do not block ventilation, alter electrical equipment or place a device where it could create a fire or safety hazard.
Watch for false confidence from close testing
A common failed test looks like this: the user holds the recorder 20 centimetres from their mouth, speaks loudly for ten seconds, plays the file through a phone speaker and declares it clear. That result says very little about a real scene. The complete test must include realistic distance, ordinary volume, expected orientation, normal noise and the actual playback method that will be used later.
This is also why matching equipment to the environment is more important than chasing a single specification. The overview of hidden audio devices for different real-world scenarios can help narrow the technology category before a formal acceptance test begins.
Set recording mode deliberately
Recording mode determines what is captured, what is missed and how much review work is created. Continuous recording provides the strongest temporal continuity but consumes more storage and power. Scheduled recording can suit predictable authorised periods. Voice activation can reduce silence but requires careful calibration. Remote listening can provide prompt awareness but depends on connectivity and access controls.
How to test voice activation without missing the start
Voice activation should be tested with quiet speech, normal speech, distant speech and short phrases. Start each phrase after several seconds of silence and check whether the opening syllable is cut off. Then test nearby non-speech sounds, such as a door closing, chair movement or a fan starting, to see whether they create unnecessary files.
Do not set the threshold solely to eliminate all false triggers. An overly insensitive threshold may save storage while losing the beginning of precisely the conversation that matters. Learn how sensitivity, segmentation and review processes interact in the voice-activated microphone recording guide.
Listen for automatic gain problems
Automatic gain control can make quiet speech louder, but it can also raise room noise during pauses and suppress voices immediately after a loud event. Test a sequence that alternates between quiet speech, a normal conversation and a brief louder sound. If the first words after the louder sound disappear or become muffled, alter the placement or configuration if the device provides controls. Avoid changing multiple settings at once; otherwise, you will not know what improved the result.
Test power, clock and file integrity as one system
Audio cannot be relied on if it ends early, is assigned the wrong date or cannot be retrieved. Power and file management deserve the same disciplined testing as acoustics. Run a full-duration trial at the expected mode rather than extrapolating from a short sample. A recorder that works for 15 minutes may behave very differently during several hours of continuous use or repeated voice-triggered wake cycles.
Run a realistic endurance test
Charge the unit according to its instructions, configure the planned mode and run it in the actual environment for at least the expected duty period. Check battery level before and after, but judge success by the complete recording. Did it stop cleanly? Are the last minutes playable? Did heat, cold, poor mobile signal or repeated connection attempts materially affect runtime?
Battery claims should be treated as a starting point, not a guarantee. For a fuller framework, see the guide to microphone battery life, standby logic and real recording autonomy. Schedule a maintenance interval that leaves margin rather than waiting for the claimed maximum duration.
Verify dates, filenames and retrieval
Set the clock correctly, create a test recording and confirm the date and time after transfer. Check whether files are sequential, whether recordings split at predictable sizes, and whether the chosen computer or phone can play them without specialist software. If the material may need to be reviewed later, preserve an original copy, record when and how it was retrieved, and work from a duplicate where appropriate.
Storage capacity is not merely a number on a product page. Bitrate, recording mode, overwriting rules and file segmentation determine how much usable history remains. The detailed audio storage and file reliability guide explains how to plan this part of the workflow.
Recording settings, power and file management should be tested as one connected workflow rather than as separate technical checks. Realistic endurance trials and controlled voice-activation tests help expose missed openings, shortened runtime and retrieval issues before they matter.
Diagnose common test failures
“The voice is audible but words are unclear”
This usually indicates poor signal-to-noise ratio, excessive distance, reflection or an obstructed acoustic path. First reduce distance or improve the path in an authorised placement. Then reduce controllable noise. Do not assume a higher advertised sensitivity will solve a room-layout problem.
“The recording has a hum, buzz or ticking sound”
Test the device away from chargers, power supplies, routers, LED drivers and other electronics where permitted. Compare battery operation with external power if both are supported. A noise that appears only when charging or only in one position is useful diagnostic evidence. Record the conditions before replacing equipment.
“The file begins after the conversation has started”
For voice-activated recording, lower the trigger threshold carefully or choose a mode with pre-record buffering if available. For scheduled recording, verify the clock and time zone. For remote systems, distinguish between delayed notification and delayed recording; they are not always the same failure.
“The sound is distorted when somebody speaks nearby”
This is often clipping. Increase distance where feasible, select a lower sensitivity setting if offered, or reposition away from the direct line of loud speech. A distorted near voice cannot be repaired reliably afterward, so the acceptance test should include realistic loud moments such as laughter, raised voices or a phone ringing.
Create a maintenance and retest routine
Testing once is not enough. Rooms change, vehicles develop new rattles, batteries age, Wi-Fi credentials are replaced and furniture blocks sound paths. A simple maintenance routine is more valuable than an elaborate setup that nobody checks.
For an authorised long-term recording plan, retest after any physical move, app update, power change or environmental change. At routine intervals, confirm battery performance, memory availability, clock accuracy, file playback, recording mode and the score from a short speech script. Document the date, tester, configuration and result. This takes little time and can prevent discovering a failure only after an important event has passed.
When a recording is not the right tool
Audio recording is not a substitute for transparent security policies, staff training, access control, safeguarding procedures or direct communication. In many settings, visible and disclosed measures are more lawful, proportionate and effective than any concealed device. If you suspect unauthorised surveillance rather than planning your own lawful recording, do not attempt to interfere with the device or confront someone without a safety plan. Preserve the scene and use a structured process such as this counter-surveillance guide for hidden devices.
Final checklist before relying on recorded audio
- Confirm that the recording purpose, authority, consent and notice requirements have been assessed.
- Write down the speech, distance, duration and response requirements.
- Test with ordinary speech, not a close-range demonstration.
- Record quiet baseline noise and each likely source of interference separately.
- Use an independent listener to score names, numbers and instructions.
- Check voice activation for missed openings and false triggers.
- Run a full-duration battery and storage test in the real environment.
- Verify timestamp accuracy, file playback and safe retrieval.
- Document the configuration and schedule a retest.
The strongest setup is rarely the smallest or the most heavily advertised. It is the one that has been lawfully selected, tested under realistic conditions, documented and maintained. Treat a hidden microphone as an audio system rather than a gadget, and the resulting recordings are far more likely to be clear, complete and genuinely useful when they are needed.
When a test fails, diagnose the specific cause before changing equipment or settings, then retest after any meaningful environmental or configuration change. The most dependable setup is one that is appropriately authorised, realistically validated and maintained with a simple documented routine.
Frequently Asked Questions
What makes a hidden microphone recording usable?
A usable recording lets an authorised reviewer understand who is speaking, what is being said, when it happened, where the speaker is positioned relative to the scene, and what background event provides context. Simply producing an audio file is not enough. Speech must be intelligible, the recording must be continuous, files must be retrievable, and timestamps should make sense.
What should I check before using a hidden microphone for recording?
Confirm that the intended recording is lawful and authorised before installation. Recording rules can vary by country, state and workplace context, including consent, privacy notice, employment, shared accommodation and public-facing-space requirements. Do not intercept conversations where people reasonably expect privacy or where you are not authorised to record. Define the authorised area, expected speakers, likely noise sources, duration and review responsibility.
Why is speech intelligibility more important than recording volume?
A loud file can still be difficult to understand when vibration masks consonants, automatic gain causes voices to fluctuate, or room reflections blur words. A quieter recording can be more useful when the microphone has a favourable path to the speaker and background noise is controlled. Test whether ordinary words, names, numbers and short phrases can be understood on the first listen.
How can I test whether a microphone captures clear speech?
Use a realistic, repeatable script with two consenting participants where possible. Include names, numbers, dates, addresses, product codes, an instruction and a question. Participants should speak at normal volume from their expected positions, including while sitting, standing or turning. Ask an independent listener to transcribe or identify the key details without being told them in advance.
What is a good benchmark for hidden microphone audio quality?
A practical benchmark is whether an independent listener can accurately transcribe a short, unannounced test sentence spoken at normal volume. This is more meaningful than checking whether the recorder captures any sound at all. It avoids false confidence created by speaking loudly, very close to the device, directly toward it, in a quiet setting.
How should I test a microphone in a noisy room?
Start with a quiet baseline recording to reveal hum, interference, clicks, ventilation, appliance cycling, plumbing sounds or vibration. Then add common noise sources one at a time, such as an extractor fan, air conditioning, television or office equipment. Make separate recordings for ordinary speech and the furthest expected speaker position. Layered testing identifies which sound source affects clarity.
Why should I test the complete recording chain rather than only the device?
Recording reliability depends on more than the microphone itself. Test the actual room or vehicle, mounting position, recording mode, power source, memory, clock, file-retrieval method and the playback process used by the reviewer. A device can switch on and create files while still failing because of noise, shutdowns, activation delays, corrupted segments or unusable timestamps.
How does microphone placement affect recording clarity?
Placement should prioritise a clean acoustic path to the required speech, while remaining appropriate and compliant with privacy rules. Distance matters, but furniture, walls, doors and room reflections also affect clarity and frequency balance. A microphone near the main speaker location is often more effective than a higher-powered device placed across a reverberant room. Test the intended location under normal conditions.
Which locations can reduce hidden microphone audio quality?
Heavy fabric, drawers, sealed cupboards, dense furniture and metal housings can reduce clarity. Contact with vibrating surfaces may add unwanted noise: desks can transmit keyboard impacts, vehicle panels can carry engine vibration, and appliances or speaker cabinets can transmit structure-borne energy. Compare recordings from the intended position with and without a thin, non-resonant isolating layer where appropriate and safe.
How can I avoid vibration and handling noise in recordings?
Check for mechanical coupling at the planned mounting location. Record with the device supported exactly as it will be used, then compare low-frequency rumble and handling noise after adding an appropriate thin, non-resonant isolating layer. Do not block ventilation, modify electrical equipment or install a device in a way that could create a fire or safety hazard.
Should I use continuous recording, scheduled recording or voice activation?
The best mode depends on the authorised objective. Continuous recording provides the strongest time continuity but uses more power and storage. Scheduled recording may suit predictable periods. Voice activation can reduce silence but needs careful calibration, while remote listening depends on connectivity and access controls. Test the selected mode in the real environment rather than relying on desk-based results.
How do I test voice activation without missing the start of speech?
Test quiet, normal and distant speech, along with short phrases. Begin each phrase after several seconds of silence, then listen for clipped opening syllables. Also test nearby non-speech sounds, including a closing door, chair movement or a fan starting, to see whether they create unnecessary files. Avoid setting the threshold so high that important speech starts are missed.